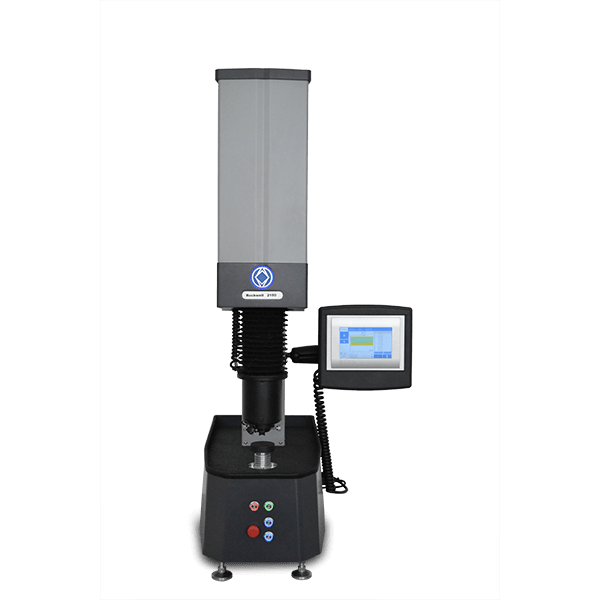
The Wilson RH2150 hardness tester is designed for high volume production labs and production floor Rockwell testing, as well as supporting worldwide research facilities with its vast amount of testing scales. The RH2150 is available in two different sizes, with a vertical capacity of 10 and 14 inch (254 and 356mm respectively). It is fully protected from outside influences with sheet metal casing and a loadcell protection. The intuitive user interface aligns with our DiaMet™ software – making it simple to learn and easy to use. A DiaMet™ package is available to have all advanced features of DiaMet™.
- Auto-stop clamping device holds down the sample and secures it during the testing.
- The adjustable LED workspace illumination highlights the test location to ensure clarity and full visibility.
- Indenter extensions are optionally available in several sizes to enable testing also on hard to reach test locations (only usable with clamping device).
- Standard 0.75 in(19mm) pin anvils are shared with the Wilson RB2000 and R574 testers to simplify accessories in a lab.
- The operator panel can be adjusted on the frame or taken off completely to put aside the machine if needed – ensuring full flexibility and an ergonomic test process.
- USB connection for easy data output to memory drives.
- In conjunction with the clamping device, the external footswitch can be used in multiple ways:
- Clamping and manual start
- Clamping and automatic start
- Manual release after test
- Automatic release after test
- Rockwell Fast Mode, achieving test results in seconds.
Perfect Fit for Today’s Testing Labs
- Complete new user interface was developed for the standalone configuration. Advanced statistical calculations, results graphing and easy test programmability streamline the testing process. Verification reminders trigger automatically to ensure compliance.
RH2150 Series Available in Two Load Ranges
- Available in two load configurations. The RH2150 Twin has the complete loadrange, including superficial and regular Rockwell scales as well as Brinell depth loads up to 187.5kgf. The RH2150 Regular includes regular Rockwell scales as well as Brinell depth loads up to 187.5kgf.
Trusted Results – Intuitive Operation
- Designed for high volume production labs and production floor Rockwell testing, as well as supporting worldwide research facilities with its vast amont of testing scales. The RH2150 is available in two different sizes, with a vertical capacity of 10 and 14 inch (254 and 356mm respectively). It is fully protected from outside influences with sheet metal casing and a loadcell protection. The intuitive user interface aligns with our DiaMet™ software – making it simple to learn and easy to use. A DiaMet™ package is available to have all advanced features of DiaMet™.
Advanced Functionality for Today’s Industries
- The global expertise of Buehler is strong as it now includes more than a century of experience from Aerospace companies such as Wilson Instruments, Wolpert and Reicherter. With the design and manufacturing of the RH2150 tester, the DiaMet software and test blocks all in-house by Buehler, system integration is guaranteed. Smart software functions help the user with standards traceability.


